Showing posts with label Decor. Show all posts

Wednesday, June 5, 2019

Altered Shabby Bottle


Hello again friends!
My project for today is something different. Our daughter showed us a bottle she bought at a garage sale and I immediately pictured it altered in lace and flowers. So I asked if I could decorate it for her. This is my result.


There are layers of fabric, laces, and Prima Georgia Blues papers... vintage doilies and lace, a garment pin with pearl dangles, I Am Roses flowers, appliqués, and a pearl/rhinestone embellishment to top it all off.
Just a little something out of the ordinary for me.
Thanks for stopping by!

Sunday, April 8, 2018

Shine Brightly Decor Piece


Hello and welcome!
Today I have a remake... from card to decor piece. I had originally created this as a card, but I was never quite satisfied with the results. I think it was the size. It was just too big for a card, so I decided to make it into something for around the house.


I grabbed some fabric from my boxes of fat quarters. I found one that was a perfect match for these papers. I covered a piece of corrugate with the fabric, added a mat of some other similar paper, then added my disassembled card.


I glued on a white button to the heart...


and one to the waist of the dress.
 I picked out a "Shine Brightly" title from my Tim Holtz pack of Quote Chips and inked the edges with Distress Vintage Photo. I added that to the dress form.


I put on some Prima Say It In Crystals in a rosy red color... so pretty!
Sometimes you just need to overhaul a project if it's not working for you. I'm lovin' this now!

Thanks for stopping by!

Monday, September 25, 2017

Hand-dyed Wool Pumpkin on Canvas


Happy Monday, Friends!
Another day of heat and sunshine in Ohio... hope you're having the same lovely weather.
And once more a new project!
This time I tried hand-dyed wool on a canvas. Like my clipboard from my last post, I purchased this 6x6 canvas quite some time ago and had it stashed away. To start, I colored it with several blended Distress Inks and filled in that center section that kind of sinks down with two layers of Warm & Natural Needled Cotton Batting.


I cut the pumpkin with Alterations Bigz Pumpkin Jack (retired) and some of my precious hand-dyed wool that I buy here. I pulled out some matching colors of pearl cotton and did rows of backstitching, tucking in some poly stuffing for a little dimension.


Around the pumpkin I did a whip stitch. Next my plan was to do a blanket stitch with the brown pearl cotton, but I realized I had cut the plaid material a little too small. 


I settled for gluing my material to the canvas. Not quite the finished look I wanted, but what I had to settle for.


I decided to add  some metal for a variation in textures.


I loved the look of the filigree antique bronze leaf with the colors of the wools.


In searching through my boxes of metals, I found these two flourishes in the same antique finish. They have a pumpkin vine-look to them... just perfect with my pumpkin, I thought.


Other than that deleted blanket stitch, I'm pretty happy with this project. Seriously though, I may think on this awhile, and see if I can figure out how to pull it off anyway. Any suggestions?

Thanks for stopping by!

Friday, September 22, 2017

Today Is Full of Possibilities Clipboard Layout


Hello to all!
I've been feeling adventurous lately, so I tried something new... 
mixed media on a burlap covered clipboard. I bought this clipboard at Michaels at a terrific discount a long while back. It's just been hanging out in my closet, getting pulled at every now and then, looked at, then put back on the shelf. Yesterday I felt really inspired by Paula Cheney at One Lucky Day. Although my project isn't the same, some of the techniques she used are, and that was my inspiration. I love the tag she made, I love the products she used. I hope you can spot some of them on my project... my ever so neglected clipboard which is now fully decorated and ready to be displayed.
I began with Idea-ology's Wallflower Paper Stash. I did some machine stitching, then stenciling with Tim Holtz Speckles Layering Stencil and Distress Collage Crazing Medium. When it was dry, I applied Distress Collage Vintage Medium. I distressed the edges and sponged on Vintage Photo DI. I adhered it to the clipboard with Distress Collage Matt Medium.


Now I started layering. The wood piece is a Prima Wooden ATC that I stained with Distress Stain in Vintage Photo. 


The sentiment is Idea-ology's Quote Chips rubbed with Vintage Photo DI.


The layers are paper scraps from the Wallflower PS alternated with art foam for dimension.


There is also some TH packaging in there. a piece from Idea-ology Collector Layers, and a torn scrap of book text... all distressed and inked.
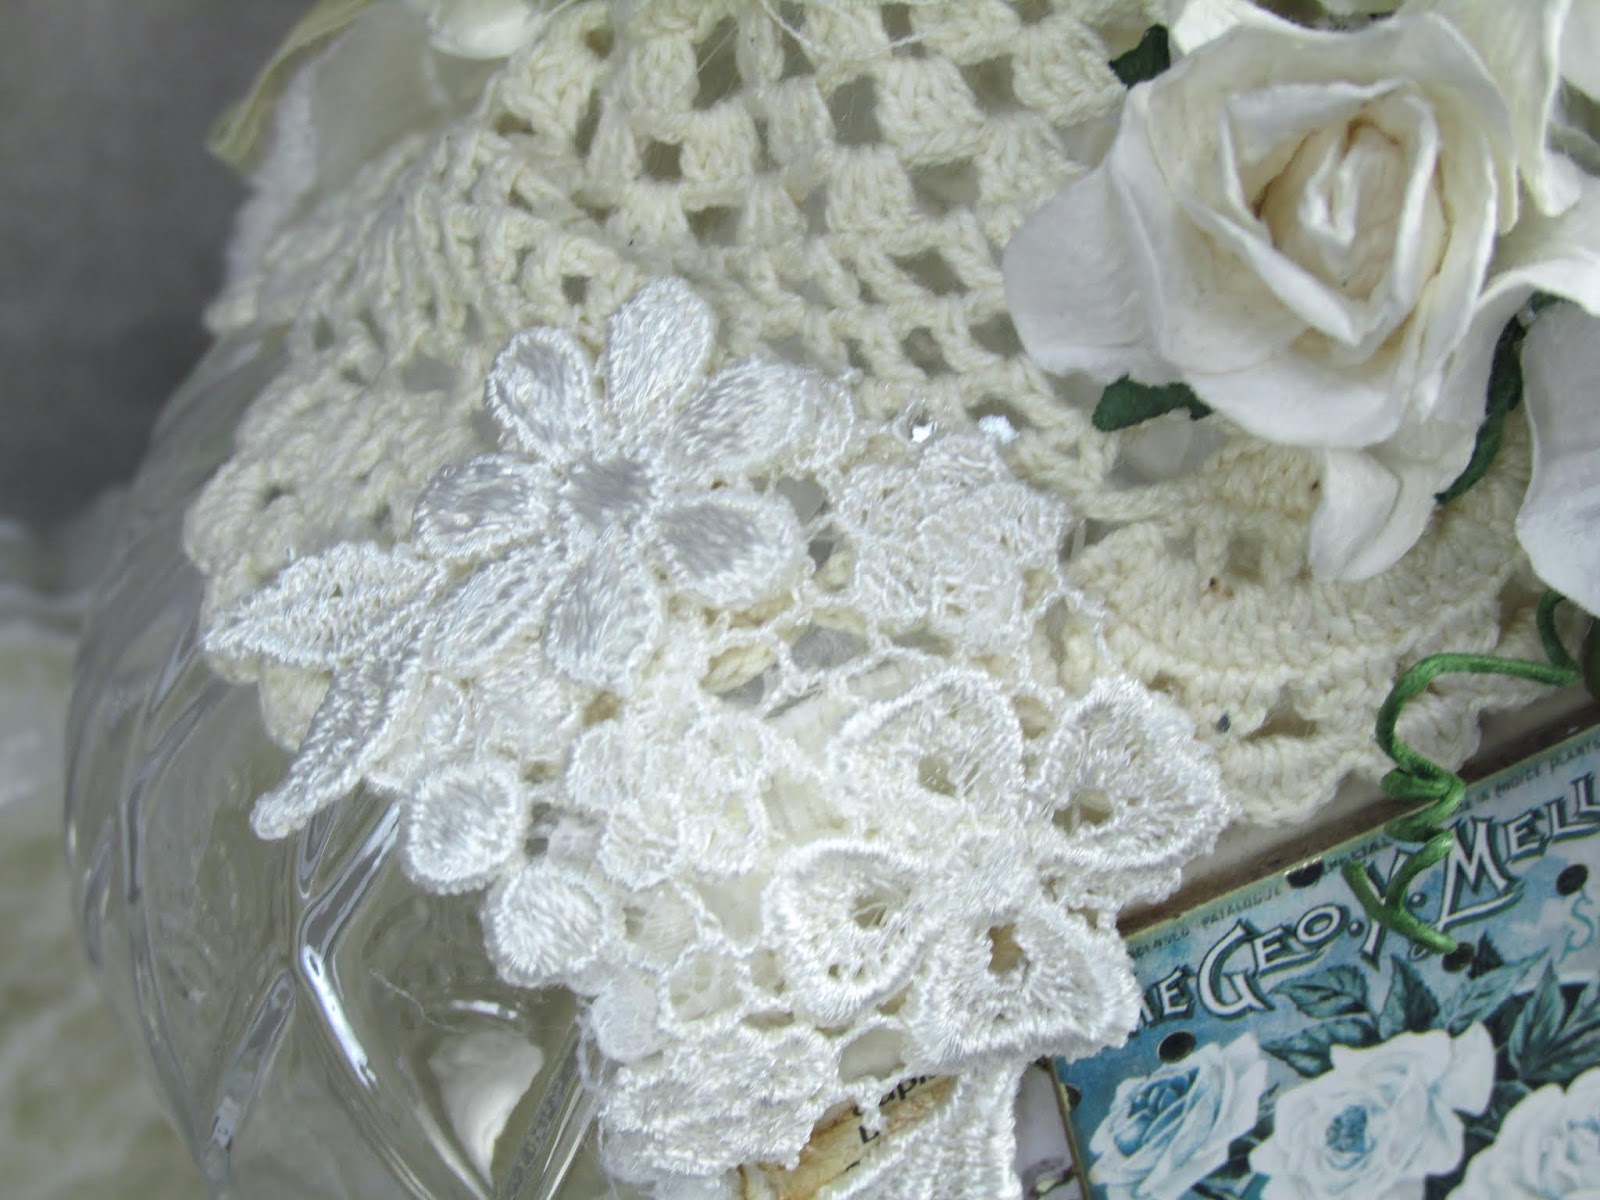

The flowers are by I Am Roses. They matched the paper so nicely and my sweater, as well.


The twine is May Arts natural burlap string.


This wood cross is from my favorite shop in the Smoky Mountains. If you zoom in, you can see some of my white splatters I added using watered down Picket Fence Distress Paint.


I distressed the metal pieces with Picket Fence, too... brushed on from the bottle and wiped with a cloth. The filigree came from The Funkie Junkie Boutique, the screw head is by Prima, and another I Am Roses flower.

Sorry for the long length of this post... 
thanks for sticking with it... and...

Thanks for stopping by!

Saturday, November 5, 2016

Begin Each Day With A Grateful Heart Decor Piece


This decor piece started out as a wall hanging, but after I caught sight of Linda's shabby chic project on her blog The Funkie Junkie, I switched gears. I haven't done a challenge for a long while, but she truly inspired me to go for this. I love what she created, so I incorporated some of her ideas into mine... the corrugate, the embossing and the Thinlits leaves.


My base is fabric from Tim's Textile Surfaces colored with Vintage Photo Distress Stain. The papers are Authentique Harvest and a free sheet from a Stampington magazine, with heavily distressed edges (scissors and VP Distress ink).


I colored the cheesecloth with more VP Distress Stain. The big bloom is an old Recollections from Michaels, the burlap leaves are by Prima, the smaller inky leaves were cut with Alterations Thinlits Fall Foliage, the natural burlap string is by May Arts.


In addition to distressing the Authentique sentiment ATC edges, I did some splatters using Tim's Speckles Layering Stencil and super heavy gesso by Liquitex. I also applied some with a pallet knife to give it more grunge.


The Stampington paper was embossed with Tim's Blueprint Texture Fade. I applied some Golden Light Molding Paste with the Speckles LS then sprinkled on Distress Vintage Photo embossing power and heat set. That gave it a rusty sort of look. 
The gem is a vintage Prima. The metal corner pieces are from Linda's shop, as are most of my supplies.


The keys epoxy sticker is another ancient item from my stash from a company called Bottle Cap Inc.

I'm entering my decor piece in the following challenges:
Frilly and Funkie - What a "Mesh"
Word Art Wednesday - Anything Goes

Thanks for stopping by!

Tuesday, March 22, 2016

Simple Rust Technique on Home Decor


I just finished working on a piece of home decor for our living room using a simple rust technique. My motivation was the challenge at A Vintage Journey. After I completed my project, I realized I had failed to add one of the key elements which was purple... as the main colors. Oops! Well, anyway, I have something new hanging beside our rough sawn mirror even though I didn't get to enter the challenge.
I started out with a 5"x12" piece of corrugate and the same of a sheet from Tim Holtz new Dapper paper stash. I peeled some of the top layer off of the corrugate and tore the paper to somewhat match. I distressed both.


I purchased two packages of tin ribbon from Michaels on sale last year and a metal drawer pull from Hobby Lobby... perfect for my project. I first added some gesso to both, let dry and applied some Vintage Photo Distress Stain. I gave them several coats. On the ribbon, I added a little Prima Texture Paste and dumped on Distress embossing powder in Vintage Photo. When it was dry, I sanded with my TH sanding grip, then added more stain until I got the look I was after.


I glued down the ribbon with Glossy Accents and added a piece of vintage doily from my cupboard stash. I also pulled out another sheet of the Dapper PS that looks like rulers, and cut and distressed it. I screwed on the drawer pull to the bottom of the corrugate.


For embellishments, a pulled out TH ephemera packs, Petaloo flowers, 7 Gypsies wood rulers, and a copy of a very old photo of me and my sister at a construction site (?).


My finished project... minus the purple.


I  punched holes and attached wide metal eyelets at the top so I could add jute as a hanger.


Almost forgot... I slipped in a piece of a doily cut with Alterations new Doily Thinlits die that I inked up with Faded Jeans, Weathered Wood and Vintage Photo plus water. Also glued on a twig vine mini heart and a piece of a vine that my granddaughter, Adelaide brought me from her walk in the woods with her mom.


Thanks for stopping by!
Linda

Saturday, January 28, 2012

My Favorite Furniture/Decor Store


Next to Archivers, Michael's,
Hobby Lobby, Joann's, etc... this is my favorite store!
and here are some reasons why...


Ektorp Sofa in White


Alvine Flora Cushion


Hemnes Nightstand in White


Hemnes Sofa Table in White


With much thankfulness,
these items are now happily housed in our family room.

Thank you for the visit!
Hugs!
Linda
Related Posts Plugin for WordPress, Blogger...